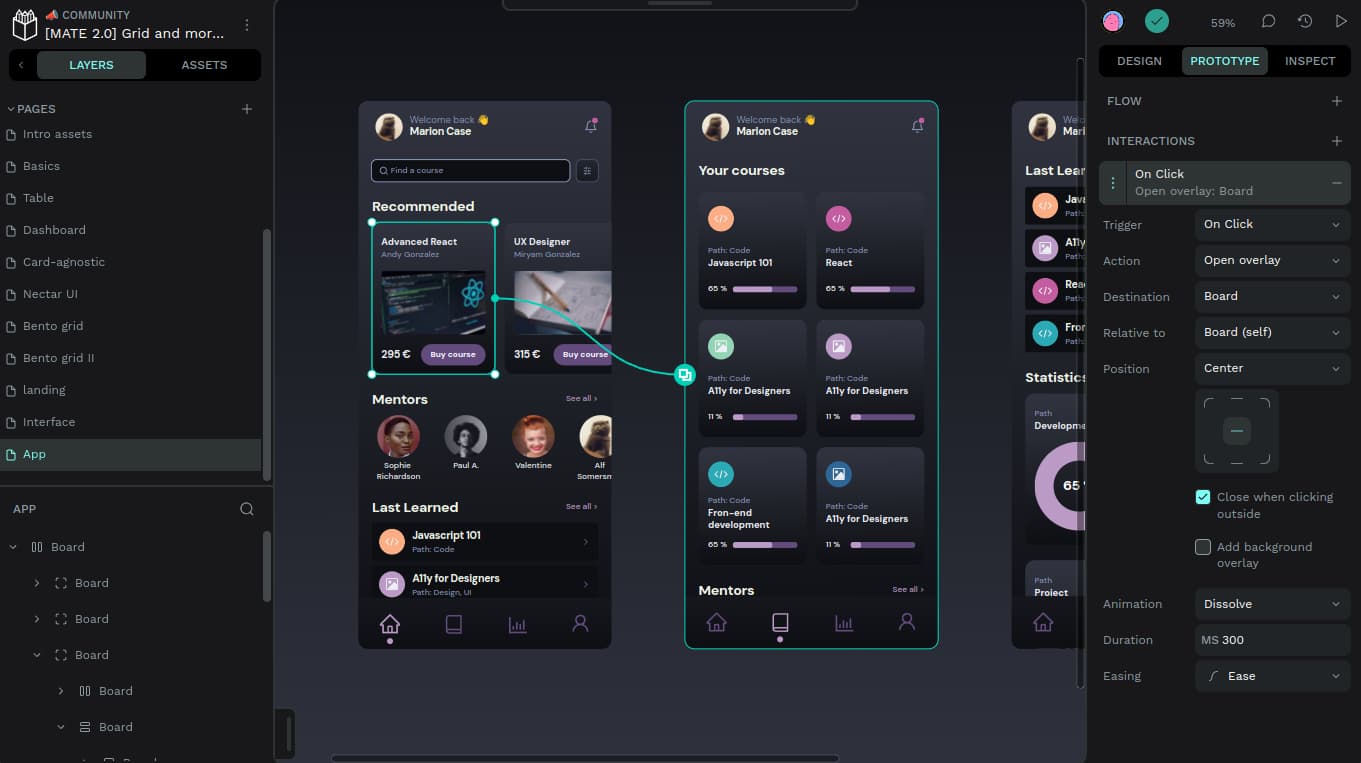
Penpot is quickly becoming a powerful and open-source alternative to popular design tools like Figma and Adobe XD. It provides an intuitive platform for designers, product teams, and developers to collaborate on creating stunning visual designs without being tied to proprietary software. Whether you’re a beginner or an experienced designer, Penpot offers a range of features that can elevate your design workflow. In this comprehensive guide, we’ll explore everything you need to know about Penpot, from its key features to advanced techniques that will help you optimize your design process.
This guide serves as the central hub for all your Penpot-related tutorials, providing in-depth insights while linking you to specific guides on mastering various aspects of the tool.
Why Penpot?
As the first open-source design and prototyping platform that’s independent of any operating system, Penpot stands out for several reasons:
- Open-source Flexibility: Unlike other proprietary tools, Penpot is completely free and open-source, providing flexibility in terms of customization and integration.
- Team Collaboration: Penpot allows for seamless collaboration between designers and developers, making it ideal for teams working in hybrid design and coding environments.
- Web-based Platform: It runs entirely in the browser, so there’s no need for heavy installations, and it’s accessible from any device.
- SVG-Native: Penpot is built with SVG at its core, which gives you superior control over vector design, making it perfect for complex interfaces or scalable designs.
Want to know how Penpot stacks up against other design tools? Explore its upcoming features and future growth in our detailed breakdown.
Key Features
1. SVG Support
Penpot’s SVG-native functionality allows for more advanced control over vector assets, making it ideal for designers working on scalable graphics or complex UI designs. You’ll never have to worry about pixelation or losing quality.
2. Team Collaboration and Invitations
Managing teams and sharing projects has never been easier with Penpot’s intuitive collaboration tools. With the ability to create teams and handle invitations, it makes design project management seamless.
Learn how to create teams and handle invitations in our step-by-step guide.
3. Custom Fonts and Typography Control
Typography plays a key role in creating impactful designs. Penpot offers extensive font customization options, allowing you to import your own fonts and personalize your designs to match your brand identity.
Check out our tutorial on adding custom fonts in Penpot.
4. Export Flexibility
Whether you need to export design elements for a website or save final files for a client, Penpot’s export features make it simple. You can export designs in various formats, including PNG, SVG, and more.
Learn more about file export in Penpot in this comprehensive guide.
Benefits of Using Penpot
1. Completely Free and Open-source
One of the standout advantages of Penpot is that it’s free, with no hidden costs or licensing fees. This makes it particularly attractive for startups, freelancers, and independent designers looking to cut costs without compromising on quality.
2. Cross-Platform Accessibility
Penpot’s web-based nature makes it accessible on any operating system, whether you’re on Windows, macOS, or Linux. It only requires an internet connection and a modern browser to function.
3. Collaboration and Developer Handoff
For teams, Penpot is built with collaboration in mind. Developers and designers can work together in the same platform, reducing the back-and-forth typically seen in the design-to-development process.
Want to boost your team’s efficiency? Read more about creating teams and collaborating.
4. SVG-Based Workflow
Designers familiar with vector graphics will appreciate Penpot’s SVG-based workflow, which makes it perfect for handling large-scale, detailed designs.
Advanced Concepts and Techniques
1. Mastering Color and Text Styles
To create consistent and harmonious designs, understanding how to master color and text styles in Penpot is crucial. This guide covers all you need to know about styling for professional-level design projects.
Discover the step-by-step guide on mastering color and text styles.
2. Creating Buttons and UI Components
A great user interface starts with well-designed components like buttons. Learn how to craft functional, aesthetically pleasing buttons using Penpot’s component-based design.
Follow our guide on designing buttons in Penpot.
3. Drop Shadows and Blur Effects
Effects like shadows and blurs can dramatically enhance the visual appeal of your designs. Penpot makes it easy to apply these effects while maintaining full control over their intensity and direction.
Check out how to create drop shadow and blur effects.
Best Practices for Using Penpot
- Organize Your Assets: Make use of Penpot’s powerful asset management features, such as libraries, to keep your icons, images, and components in order. Learn more in our guide on creating graphic libraries in Penpot.
- Efficient Workflows with Images: Penpot allows you to import and handle images with ease, ensuring they fit into your design workflow seamlessly.
For tips on optimizing your design workflow, read about Penpot image workflows.
Conclusion and Next Steps
Penpot is a versatile, open-source design tool that offers something for everyone, from beginners to seasoned professionals. Its flexibility, collaborative features, and advanced vector control make it a standout in the design world. Whether you’re looking to create stunning UI components, manage team collaboration, or apply complex design techniques, Penpot has you covered.
Ready to dive deeper into Penpot? Explore our full collection of Penpot tutorials, or start with our guide on importing files to begin optimizing your design process today.


